
When Autoscaling Starts Slowing Product Work
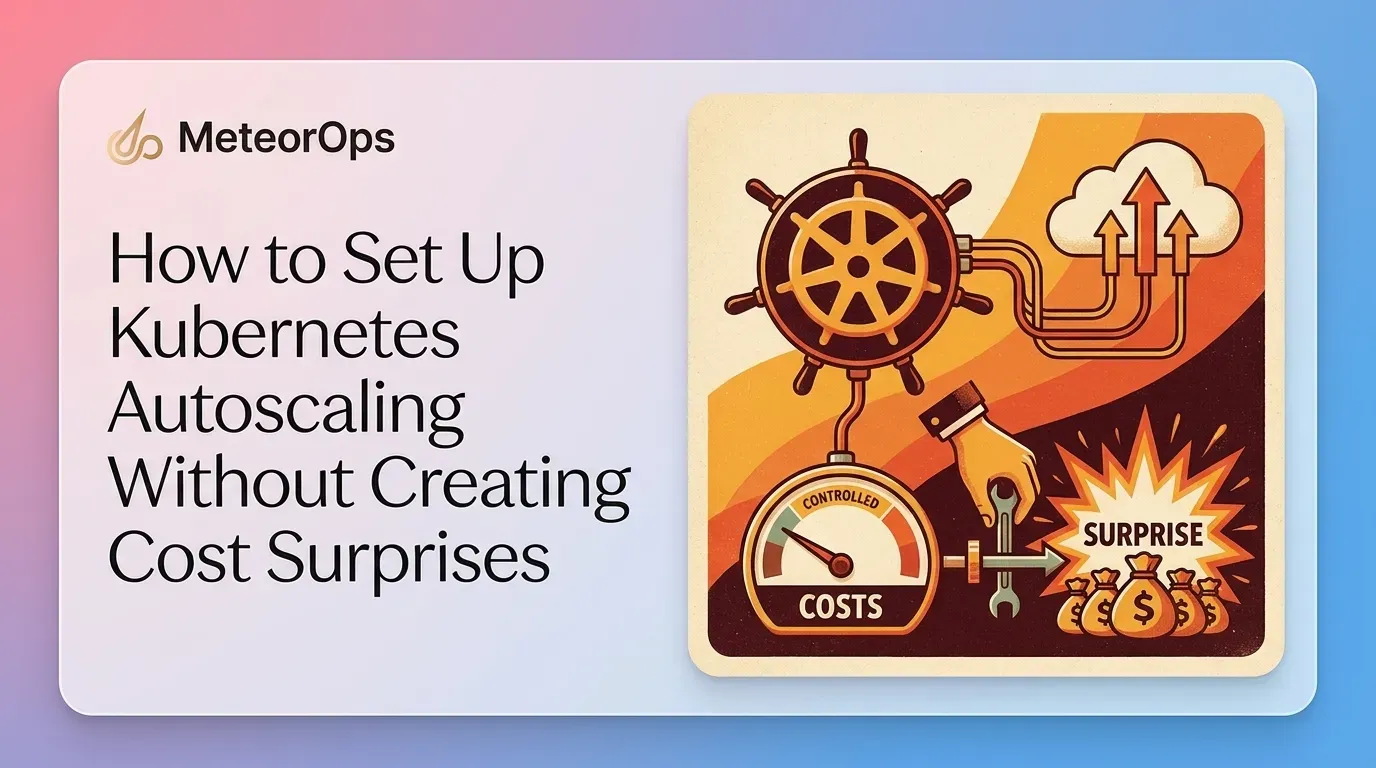
Autoscaling is supposed to remove manual capacity planning from the critical path. In practice, teams often add it when traffic is already growing, release pressure is high, and nobody wants another incident caused by under-provisioned pods or saturated nodes. That is exactly when cost surprises happen: a sensible-looking Horizontal Pod Autoscaler (HPA), Cluster Autoscaler, Karpenter, or managed node pool setting can quietly turn one traffic spike into a much larger infrastructure bill.
The solution is not to disable autoscaling. It is to give every scaling layer a defined purpose, a bounded range, and a cost review process. You need to control pod growth, node growth, workload placement, and the metrics that trigger each decision.
Understand Which Kubernetes Layer Is Scaling
Kubernetes autoscaling usually involves several independent control loops. They react to different signals and can amplify one another when configured carelessly.
- Horizontal Pod Autoscaler (HPA): Changes the number of replicas for a workload, usually from CPU, memory, or a custom metric.
- Vertical Pod Autoscaler (VPA): Recommends or changes CPU and memory requests for pods. Its operating mode needs careful review because changing requests can restart or reschedule workloads.
- Cluster Autoscaler: Adjusts the number of nodes when pods cannot be scheduled or nodes are underused, depending on its configuration.
- Karpenter: Provisions and removes nodes based on pending pod requirements and configured constraints.
- Managed node pool autoscaling: Changes the size of a cloud provider’s node group according to its own minimum and maximum settings.
These layers do not share a single cost budget. An HPA can increase replicas, which creates unschedulable pods, which causes a node autoscaler to add nodes. If the HPA never scales down, or if pod requests are much larger than actual usage, the node count can remain high after traffic falls.
Start by writing down the scaling path for each important workload:
- What metric increases the replica count?
- What is the minimum and maximum replica count?
- What CPU and memory requests does each replica reserve?
- Which node pool can run the workload?
- What causes a new node to be created?
- What prevents the workload from consuming unlimited capacity?
If you cannot answer these questions, changing a maximum replica count is not a cost-control strategy. It is a guess.
Set Resource Requests Before Setting Replica Limits
Autoscaling decisions depend on resource requests. The HPA commonly evaluates CPU utilization as a percentage of the CPU request, not as a percentage of the node's total capacity. A container with a request of 500 millicores running at 400 millicores is at 80% requested CPU, even if the node still has substantial unused capacity.
That makes inaccurate requests expensive in both directions:
- Requests that are too low: The scheduler packs too many pods onto a node, and the workload may experience throttling or memory pressure before the HPA reacts.
- Requests that are too high: Each replica reserves more node capacity than it needs, so scaling out creates nodes sooner and keeps them larger than necessary.
- Missing requests: CPU-based utilization may be unsuitable or unavailable for the workload, and scheduling becomes less predictable.
Use measured usage from representative periods, including deployments, batch activity, and peak traffic. Do not set requests from a single quiet hour. For memory, leave enough room for normal working-set variation because memory pressure can terminate a pod before a CPU-based HPA responds.
A minimal workload definition should make the resource assumptions explicit:
apiVersion: apps/v1
kind: Deployment
metadata:
  name: api
spec:
  replicas: 2
  selector:
    matchLabels:
      app: api
  template:
    metadata:
      labels:
        app: api
    spec:
      containers:
        - name: api
          image: example/api:1.0.0
          resources:
            requests:
              cpu: "250m"
              memory: "256Mi"
            limits:
              cpu: "1"
              memory: "512Mi"
The image name in this example is illustrative. Replace it with the image and version used by your workload. The important part is that requests and limits reflect a tested operating range rather than arbitrary defaults.
Configure the HPA as a Bounded Control Loop
An HPA needs a clear lower bound, upper bound, target metric, and scale-down behavior. The minimum should cover normal availability and rolling deployments. The maximum should reflect a capacity and cost decision, not an optimistic estimate of future demand.
For a CPU-based HPA, confirm that the workload has CPU requests on the containers being measured. Then define conservative behavior for rapid scale-up and slower scale-down. Rapid scale-up helps absorb a real demand increase. Slower scale-down reduces oscillation when traffic moves around the target.
apiVersion: autoscaling/v2
kind: HorizontalPodAutoscaler
metadata:
  name: api
spec:
  scaleTargetRef:
    apiVersion: apps/v1
    kind: Deployment
    name: api
  minReplicas: 2
  maxReplicas: 10
  behavior:
    scaleUp:
      stabilizationWindowSeconds: 0
      policies:
        - type: Percent
          value: 100
          periodSeconds: 60
        - type: Pods
          value: 4
          periodSeconds: 60
      selectPolicy: Max
    scaleDown:
      stabilizationWindowSeconds: 300
      policies:
        - type: Percent
          value: 25
          periodSeconds: 60
      selectPolicy: Min
  metrics:
    - type: Resource
      resource:
        name: cpu
        target:
          type: Utilization
          averageUtilization: 70
The values above are starting points, not universal recommendations. Test them against the workload's latency, queue depth, error rate, and recovery behavior. CPU may be a poor scaling signal for a queue consumer that is CPU-light but falling behind. In that case, a queue-length or request-rate metric may describe demand more directly, provided the metric is reliable and available to the HPA.
Review the HPA in four situations:
- When traffic rises gradually over several hours.
- When traffic arrives in a short burst.
- When a downstream dependency becomes slow.
- When a deployment changes the workload's CPU or memory profile.
A common failure mode occurs when a downstream service slows down. Requests remain active longer, CPU rises, and the HPA adds replicas. The extra replicas create more work for the already-constrained dependency, which can increase cost without improving user-visible performance. Add dependency health and application-level service indicators to the review rather than treating CPU as the only truth.
Put Hard Limits Around Node Growth
Pod limits do not automatically create a cloud cost limit. If an HPA can create ten times as many replicas, a node autoscaler may add enough capacity to schedule them. You need limits at both the workload and cluster levels.
For each node pool or provisioner, define:
- A minimum size that supports normal operation and planned disruption.
- A maximum size that reflects the approved capacity and cost envelope.
- The instance types or node sizes that the workload may use.
- Scheduling rules that keep specialized workloads away from general-purpose capacity.
- A scale-down policy that removes genuinely unused nodes without disrupting critical workloads.
Use a ResourceQuota in each namespace to prevent one team or environment from consuming all available capacity. Pair it with a LimitRange when you need default requests and limits for containers that omit them.
apiVersion: v1
kind: ResourceQuota
metadata:
  name: application-quota
  namespace: production
spec:
  hard:
    requests.cpu: "20"
    requests.memory: 40Gi
    limits.cpu: "40"
    limits.memory: 80Gi
    pods: "50"
A quota is a scheduling guardrail, not a guarantee that the cloud bill will stay below a specific amount. Node overhead, system workloads, daemon sets, storage, load balancers, and other services still consume resources. Leave capacity for those components when choosing quota values.
Review node autoscaling alongside workload placement. A pod with a restrictive node selector, taint requirement, or topology rule may force the provisioner to create a new node even when another node has spare capacity. This can be the correct availability decision, but it should be visible in the cost review.
Teams operating several clusters should document their node-pool limits and ownership clearly. For example, importing or consolidating clusters can expose inconsistent autoscaling rules that were previously hidden by separate cloud accounts or environments. A documented migration plan, such as the approach described in this Kubernetes cluster import case study, can help keep infrastructure policy explicit during that work.
Test Failure Modes Before Production Traffic Finds Them
Autoscaling should be tested as a system rather than as an isolated HPA object. A useful test starts with a known workload and observes every step: metric change, replica change, pending pods, node creation, application recovery, and scale-down.
Run these checks in a non-production environment or during an approved production exercise:
- Increase request load until the HPA reaches several replica levels.
- Confirm that new pods become ready and that readiness probes prevent traffic from reaching unready instances.
- Observe whether pending pods trigger node growth as expected.
- Stop the load and measure how long replicas and nodes take to fall.
- Check whether scale-down causes evictions, queue loss, connection failures, or latency spikes.
- Repeat the test while a deployment, node drain, or dependency slowdown is occurring.
Watch these signals during the test:
- HPA desired replicas and current replicas.
- Pending pods and their scheduling events.
- Node count, node utilization, and unschedulable nodes.
- CPU throttling and memory pressure.
- Request latency, error rate, queue depth, and saturation.
- Replica and node count after demand returns to normal.
Do not judge success by node utilization alone. A cluster can look efficient while users experience high latency because the application is waiting on a database or another service. Conversely, a low-utilization node may be necessary because the workload has strict placement rules or requires spare capacity for disruption.
Create a Cost Review That Matches Scaling Behavior
Cost control fails when engineers review the bill after the fact and cannot connect it to a scaling event. Record the decisions that can increase capacity and assign an owner to each one.
At minimum, review:
- Changes to HPA minimum and maximum replicas.
- Changes to CPU and memory requests.
- Changes to node-pool or provisioner limits.
- New taints, tolerations, selectors, or topology constraints.
- Changes to custom metrics and their collection intervals.
- Namespaces that approach their resource quotas.
Use separate limits for development, staging, and production. A staging environment that inherits production replica limits can create unnecessary spend during load tests or a stuck job. Development clusters often need a firm upper bound because an accidental deployment can otherwise remain active until someone notices.
When a workload needs more capacity, ask which constraint is actually failing:
- If requests are too high, recalibrate them from representative usage.
- If the HPA reacts to the wrong signal, change the metric rather than raising the maximum.
- If pods cannot fit efficiently, review placement rules and node shapes.
- If the workload has a legitimate sustained increase, update the capacity plan and budget deliberately.
- If several clusters use different policies, standardize the policy before copying another configuration.
For teams managing AWS and Kubernetes together, infrastructure changes should be reviewed as one capacity decision rather than as separate application and cloud changes. The practices in this AWS and Kubernetes management case study are relevant to that type of review. Managed Kubernetes services such as Azure Kubernetes Service can reduce control-plane administration, but they do not remove the need to bound workload and node scaling.
When the Configuration Needs a Larger Review
Get a second review when autoscaling has become difficult to explain, when several teams share a cluster, or when a single traffic event can materially affect infrastructure spend. The review should examine manifests, metrics, scheduling events, quotas, node limits, and recent cost changes together.
Useful deliverables include:
- A diagram showing the HPA, scheduler, node autoscaler, node pools, and external dependencies.
- A table listing minimum and maximum replicas for each production workload.
- A resource-request review based on observed usage.
- A namespace quota and ownership map.
- A test record showing scale-up and scale-down behavior.
- An escalation rule for reaching a capacity or spending threshold.
Infrastructure teams can also compare patterns used in production Kubernetes environments, including the operational approach described in this scalable Kubernetes and cloud infrastructure case study. Treat those patterns as material for review, not as a substitute for testing your own workload.
Takeaway
Set autoscaling limits in layers. Give workloads accurate resource requests, bound HPA replicas, cap node-pool growth, use namespace quotas, and test the complete path from demand to cloud capacity. Then review scaling changes as capacity decisions with clear ownership. This approach keeps autoscaling useful during real demand without allowing an HPA or node provisioner to define your cloud bill by accident.